
Photography Bites - Aperture
Aperture or Depth of Field

A Pinhole Camera from 1910
Taking photos is about writing with light. We capture light onto a medium and based on the intensity of this light we paint images. It’s as simple as such. If you look at the first pinhole cameras, they were actually just a lightproof box with a pinhole sized opening where light was captured onto a film, a recording medium positioned on the opposite side of the pinhole. There were no lenses or other optical devices involved.
Often, when we approach photography we are scared off by the jargon and the impression that everything is so complicated, but it’s doesn’t have to be this way.
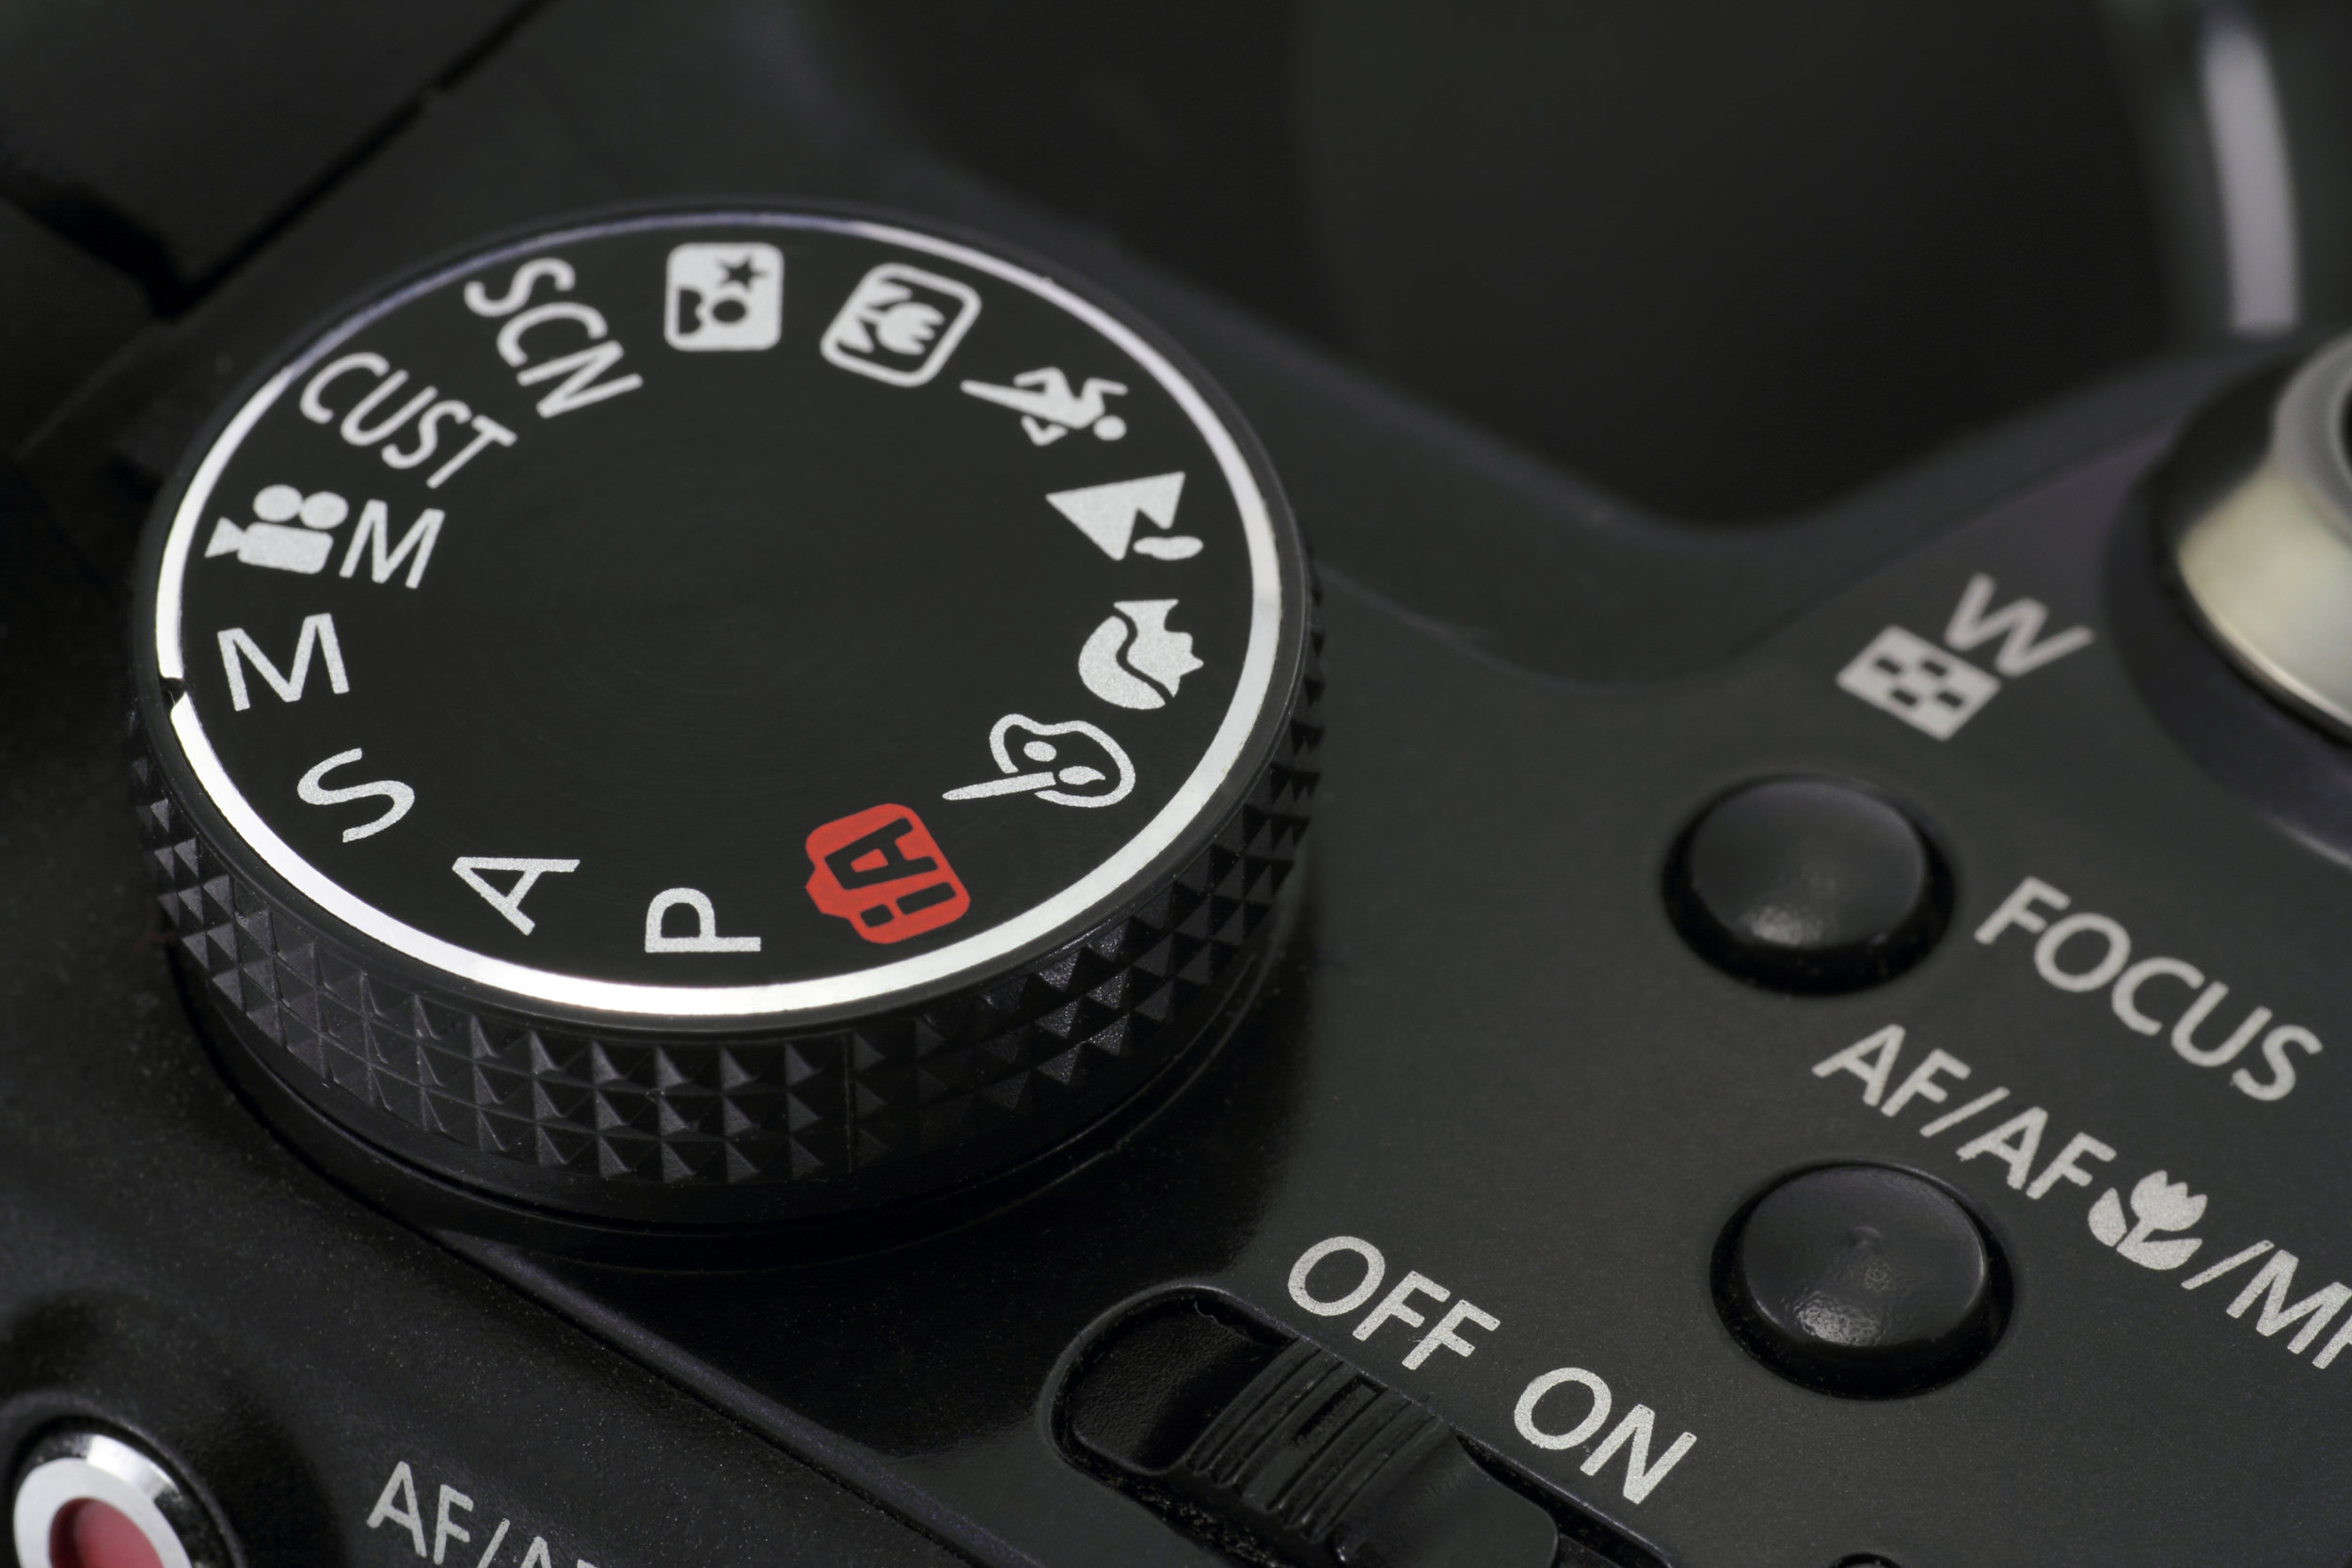
When shooting in automatic mode, our camera or our phone takes all decisions for us. This makes life easy but at the same time does not allow us to be the directors and mastermind of our photos. Photos produced with Auto mode are normally good photos; photos produced in Manual mode are outstanding photos and sometimes works of art.
When you take photos and decide to start experimenting without the Automatic mode all our cameras are now provided with there are 3 main things to take into consideration and normally you have to decide which one we want to privilege and then adjust the others to go with it.
However not always intuitive, these three pillars of photography are not that complicated too. I am obviously talking about:
Aperture
Shutter Speed
ISO
Aperture, also known as depth of field, describes how much your lens has opened to let light in. The wider the aperture, the more light is reaching your sensor or film. It is also known as depth of field because when a camera lens opens up to a certain point onwards, its capability of recording all details of the images reduces particularly out of its main area of focus and therefore we find ourselves with a photo that has an area fully sharp and the remaining surrounding part of the frame more or less out of focus if not blurred.

More or less everything is in focus, however we can see that the parts of the bookshop more in the background start losing sharpness.

The focus of the image is on the pile of books in the forefront while the rest of books in the background is purposely out of focus.
The aperture is measured in f/stops numbers following this series:
f/1 - f/1.4 – f/2 – f2.8 – f/4 – f5.6 - f/8 f/11 – f/16 – f/22 – f/32 - f/45 f/64
Most camera and lenses don’t support all the series of stops and some will also support intermediate steps in between the stops to fine tune the exposure but these are the full stops you should try to remember. Opening of one stop doubles the amount of light that enters the camera, closing halves it.
The higher the number the smaller is the aperture and therefore the amount of light entering your camera.

So, when my lens is pretty closed (anything above f/5.6), I can achieve images where everything in my frame is sharp (foreground and background), but when I open beyond a certain point (below f/5.6, the lower the aperture the more blurred the background and surrounding area will be) I start losing details in the area surrounding my main area of focus. This can produce some beautiful results and can be used very artistically.
The so called bokeh effect (background blurred) is a very nice way to emphasise your subject simply blurring more or less all that surrounds it and all that is in the background. This can be achieved with cameras but also, to a certain extent, with some phones. In the iPhone you can do that using the Portrait mode.

The depth of field you choose can be very helpful to draw the attention to a specific area of a photograph and make disturbing backgrounds irrelevant.

You are in charge of where the viewer’s eye will be drawn and this is a beautiful tool to direct the attention of the viewer and emphasise your subject.
Aperture is very important because it gives us the option of dosing the light. In some situations, for example a bright summer day or a sunny day on the snow, we simply have too much light and being able to reduce it is very important so our photos don’t look burnt. In some other situations, at twilight or in dark areas indoor and outdoor, the ability of capturing as much light as possible it’s important to make our subject visible, otherwise the entire image will just be too dark.
In other situations, as mentioned before, what we are doing when choosing a shallow or deep depth of field, is an artistic decision that is meant to give a certain effect, mood and feel to image we want to produce.


In the next blog post we will look into the second element: shutter speed. We will understand what shutter speed controls and how we can use it to create the images we want.